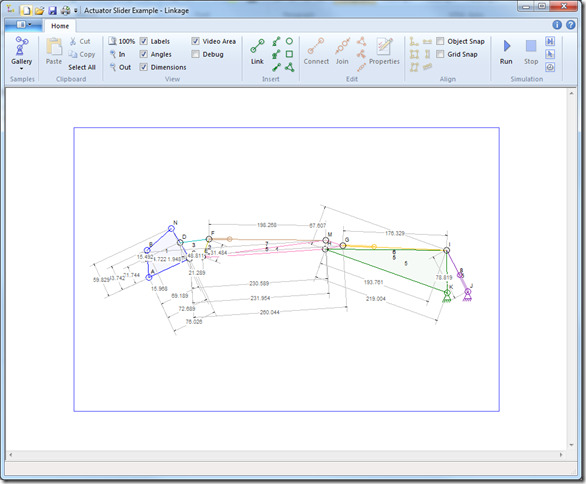
I was bored and added a fixed size video capture area. The area is centered in the window, even if the window is smaller than the video resolution, and the user can opt to show or hide a box around the area.
Video Area
The video is only from this area of the window. If the window is too small then the cut off area will be black in the final video. I was going to use white as the background color but then the mechanism would get cut off for no apparent reason. Since the mechanism is only drawn in the window, there is no image data to use for the video outside of that and blackness is appropriate.
I have uploaded a few different sizes to YouTube and opted to go with 720×480 which is DVD format.
Embedded Video from YouTube
I have uploaded a few different sizes to YouTube and opted to go with 720×480 which is DVD format. Above is an embedded video of this size. The embedded player is smaller and shows a lower quality than the best available. Click on the YouTube icon in the player to watch this on YouTube and see the better 480p video.
The next bigger embedded player is bigger than my blog column width so I’m stuck with this as the biggest size available.
This also shows the dimensions of the parts moving with the mechanism which is pretty neat looking to me.
A Neat Trick
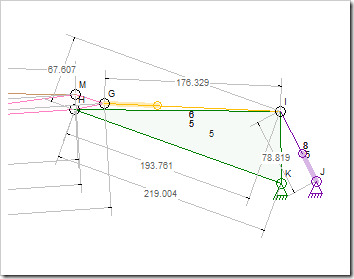
I also played a neat trick on the user. I draw the ends of the measurement lines with a black pen instead of the grey pen used for the rest of the measurement lines. This gives the illusion that there are arrowheads on those lines. It turned out rather well as you can see in the images and video.
Here’s an un-scaled image that makes this effect a bit more clear.


