I updated the documentation but never posted about the new image export functionality in the Linkage program.
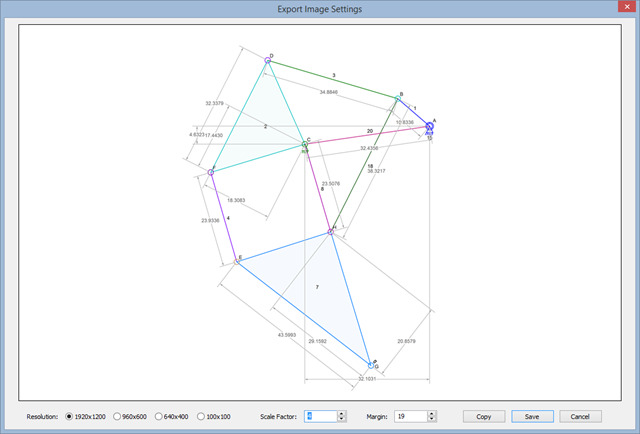
I added the ability to select the image size from a set of four useful sizes. I also added options for scaling; to make things like lines, connector circles, and text; bigger or smaller in the image. There is also a margin setting because dimension lines are currently not included in the code that size and position in the mechanism in the image. I’m working on fixing that, but a margin settings can be useful anyhow. And finally, the image can be saved or just copied to the clipboard.
I added the 100×100 image size because I need a 96×96 pixel image when creating samples.
The adjustments take a moment to change the image because the image is created at a large size and then shrunk to the selected size. This is how the smoothing (anti-aliasing) is done, but it’s slow this way.
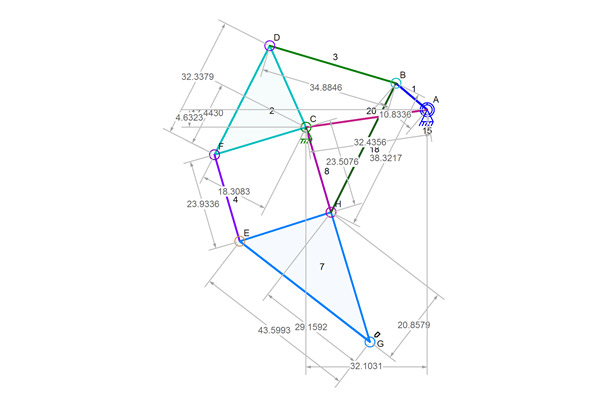
Exported Image
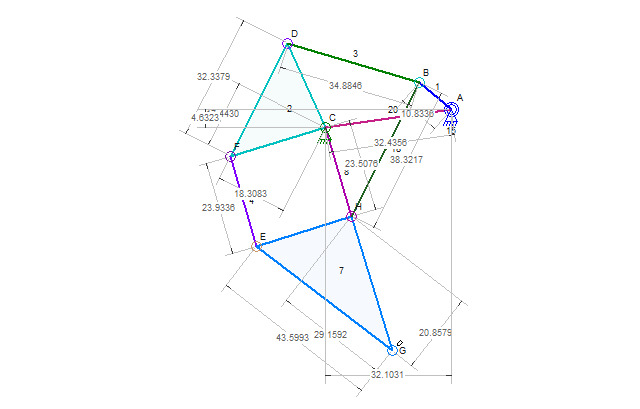
Screen Capture of Image
The difference between the screen capture and the exported image is clear. The near horizontal lines of the screen capture shows the most amount of stepping. Text is actually a little sharper in the screen capture because smoothing at that size tends to also make lines a little wider than their in the unsmoothed version. Dimension arrowheads are actual arrowheads in the exported version.
Over all, I think that the exported image is better than a captured image.
Of course, this set of options can do more than just show what is on the screen with smoothing.
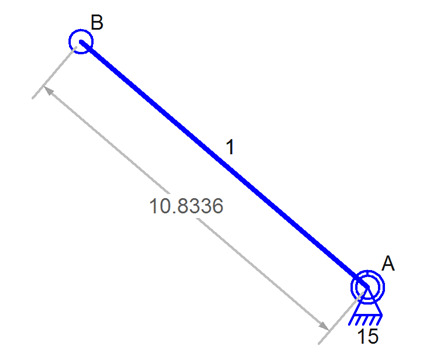
Export Image Scaled Up
An exported image can be displayed in ways that are not possible with screen captures. No matter how much zooming is done in the Linkage program, the size of lines, text, connector circles, etc., does not change. But it can be changed in the exported image as is seen in the above picture.


