

This is the first of hopefully many text tutorials for the Linkage Mechanism Designer and Simulator. Videos are great but a bit harder to make than this written stuff.
Planetary gears are a set of gears where one gear rotates around another and another outer gear, always an internal gear (teeth on the inside), sits around those on the same center as the center gear. The center gear is called the “sun” gear, the middle is called the “planet” gear, and the outer gear is called the “ring” gear.
If you are searching for information, planetary gear trains are also called epicyclic gear trains.
The latest version of the Linkage software supports an option for internal gears as well as new simulation code to handle the math needed for a simple planetary gear system. When creating or modifying a ratio between one gear and another, simply select “Internal Gears” from the set of three gear options. the others are “gears” and “chains”. The gear with the larger ratio number, and therefore the larger size, will become the internal gear. Keep in mind that if you have a ratio close to 1:1 and gears that are centered quite far apart, the gears will end up being very large.
This tutorial assumes that you know how to do some stuff in the Linkage software like create gears that mesh together and turn as expected. this tutorial is not for first-time users.
Planetary Gear Train
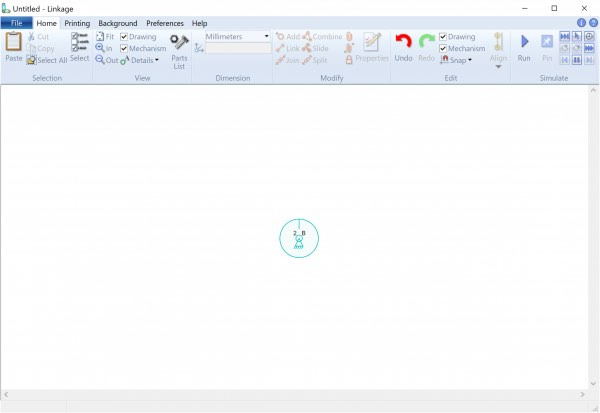
Start a new mechanism. Right-click and drop in a gear. Drag the gear until it snaps into position on the anchor already in the mechanism. Using the new alt-click feature available in 3.11.4, select the center connector of the gear and the anchor that came with the new mechanism. Join the two. Or better yet, delete the starting connector (was it a bad idea to have that all of the time?) and just make the center of the gear into an anchor.
The Linkage program cannot have a rotating input connector with gears spinning freely on it (or fastened to the ground). It’s best to just drive this new gear with a chain from some external input. Drop in another gear, make the center into a rotating input anchor, and chain the two gear together. I usually set the gear option to use the ratio numbers as the gear sizes just to make the chain input small and less visible.
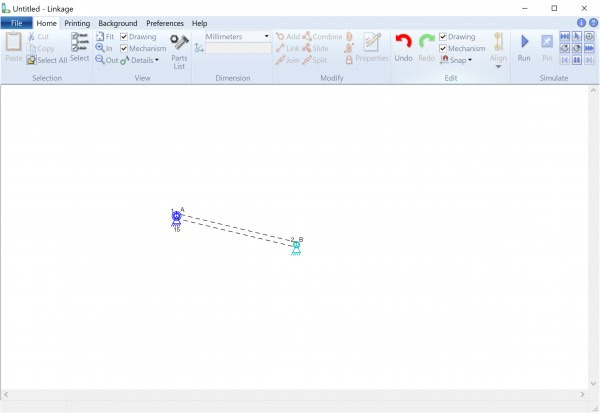
Run this to make sure things are connected correctly. If you are not too familiar with creating chain connections, or any gear connections, remember to select both of the gears and then click on the Ratio item in the Align menu that pops up when you click the Align button in the toolbar.
Next, drop in another gear and join the center connector to the center connector of the first gear you added. This new gear is going to be the ring gear but more work needs to happen before it will look like a ring gear.
I’ve zoomed in a little so you can better see the sprocket “gear” for the chain and the new gear I just added.
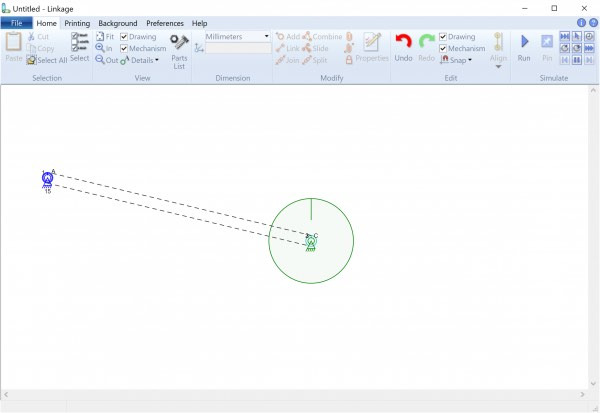
The next step is to add a link for the planet gear. In a 2D world, the planet gear is trapped between the sun and ring gears and would not really need a link. In the 3D world, a link is almost always needed. In the Linkage world, a link is needed for the simulator to be able to find the gears and know for sure where they are centered. The easiest way to accomplish this is to add the planet gear first by dropping in the planet gear and then linking its center to the center of the sun gear.
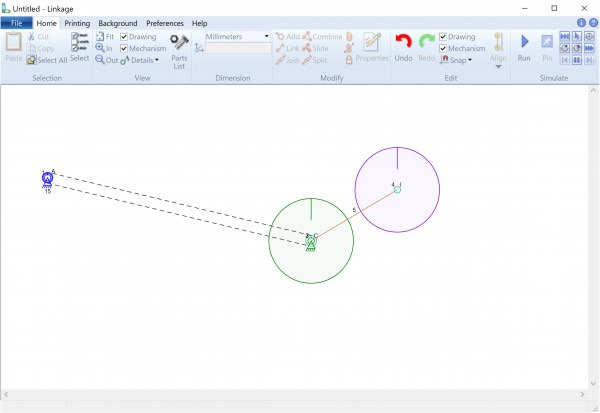
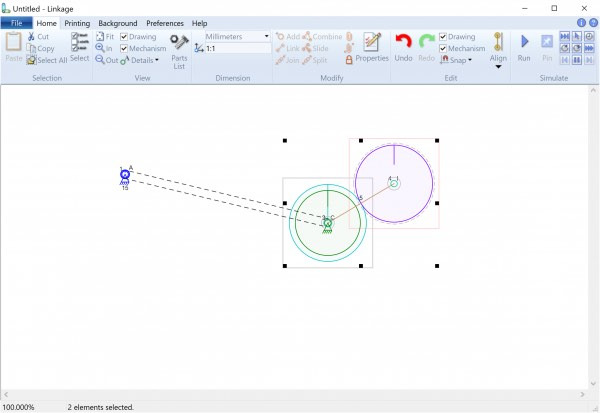
In the image above, you can see the chain connection to what will become the sun gear, the green ring gear that is not yet a ring gear, and the purple planet gear. Now the interesting part. Select the sun gear and the planet gear and set a ratio. To select gears that might be on top of each other, move the mouse pointer over the gear outline and click. this did not work in an earlier version of the software but I’ve fixed it now to work as expected. Once one gear is selected, remember to hold the Control or Shift key when clicking to select the second element. Set a ratio for these selected gears. Setting a 1:1 ratio is fine for now.
I took the screenshot after setting the ratio and left the gears selected. When you have a gear element and it has a ratio set for two different other gears, it will often show up as two concentric circles like you see above; The tiny teal colored circle has a chain on it and a larger teal circle is meshed with the purple planet gear. These two teal gear circles are like two gears that are permanently fastened together – they are a solid unit that turns together and just has two different sets of teeth. The sun gear will always look like this in this tutorial because the chain is driving the sun gear. In a real-world mechanism, the sun would probably be driven by a drive shaft that is concentric with the center of the planet gear carrier (the carrier being the link from the center of the machine to the planet gear).
The next step is to set a ratio between the planet gear and the ring gear. Select both together and set a ratio. Remember to use a larger number for the ring gear than for the planet gear. Also remember to select “Internal Gears” when setting the initial ratio.
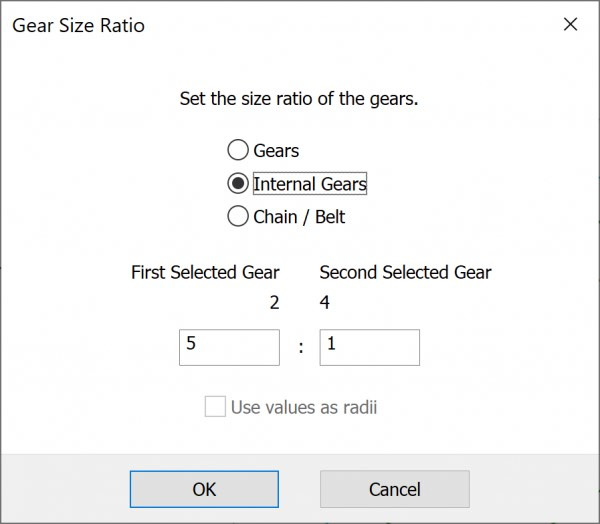
I set a 5:1 ratio to start with.
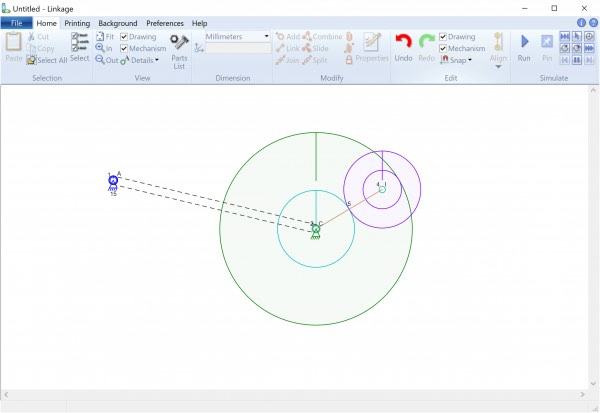
The image above shows my planetary gear mechanism at this pointing the process. Make sure you select the planet and the ring gear when setting this last ratio; I had selected the sun and planet and had to undo my mistake.
Again, you will see a gear that is two circles for a gear because it has two different meshing ratios that cause it to have two different diameters. this is not typical of planetary gears and the ratios need to be changed to get all of the gears to look right. Set the sun to planet gear ratio as 1:1 and the ring to planet ratio as 3:1. the new mechanism can be seen below:

Running this won’t work yet. The ring gear can rotate freely with nothing dictating it’s rotation angle. Simply select it and click the Fasten button in the toolbar. This will fasten it to the ground since there is no other element selected. There are alternatives to this fastening to the ground; You could add a connector to the ring gear and make it an anchor, or connect the ring gear to some other part of the mechanism that rates in some interesting way. It’s also possible to add an anchor and fasten the ring gear to it.
I would much rather read than watch a video if at all possible! Thanks again, Ron. My endless list of things to do includes making a gear train/belt drive to slow down a band saw enough to cut ferrous metal.