
Step 2
I have the images worked out for the outgoing content. Since I styled these by hand, I only set the classes properly for the one that appears complete in the image.
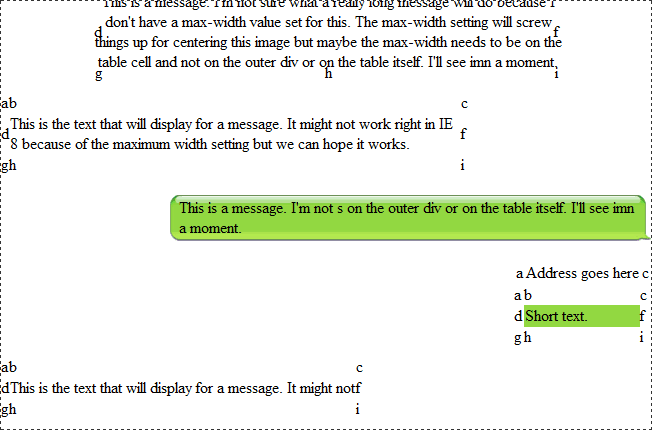
I added a div inside of the cell that contains the text. I then gave it some negative margins so that the text overlaps the corner and edge images of the bubble. This gives it a nice look without having to do anything more complicated than the margin adjustment.
I needed to make sure that I gave the corner cells a width and height but the edge cells only have width OR height and not both. Of course I also got rid of the a,b,c,… placeholders that I was using to mark the cells in the tables.
I have considered not using tables but the automatic placement of the cells seems nice. I can use divs but then I would have to have three divs set as inline for each row or use spans. That is not any more complicated than using a table and the bale ensures that the widths and heights of the cells around the text cell are computed automatically for me. You can see the advantage in that when you look at the “short text.” entry that is not as wide as the entry above it in the picture.